When a customer requests to cancel their subscription, follow this process to ensure both the subscription and their store membership are properly updated in WordPress and WooCommerce.
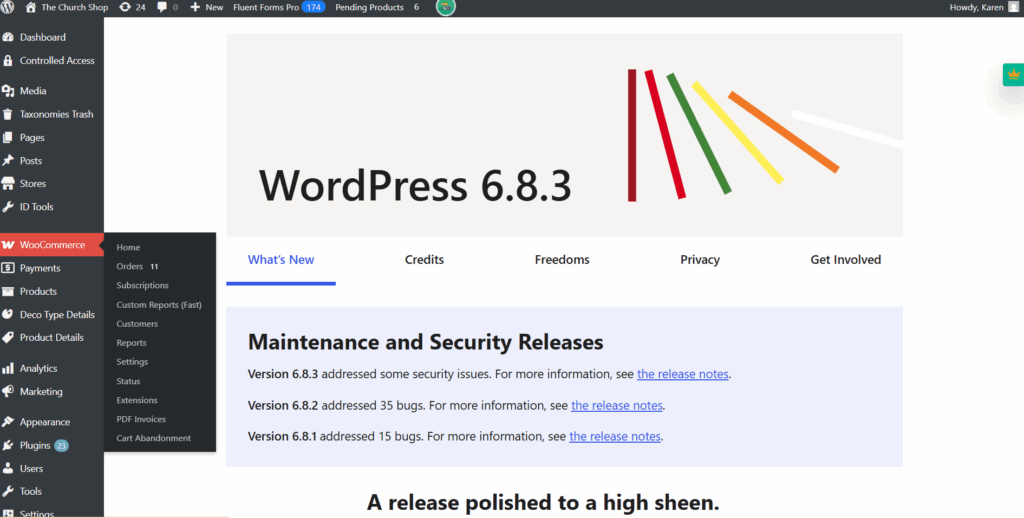
Locate Account
- In the left sidebar, hover over WooCommerce.
- Click Subscriptions.
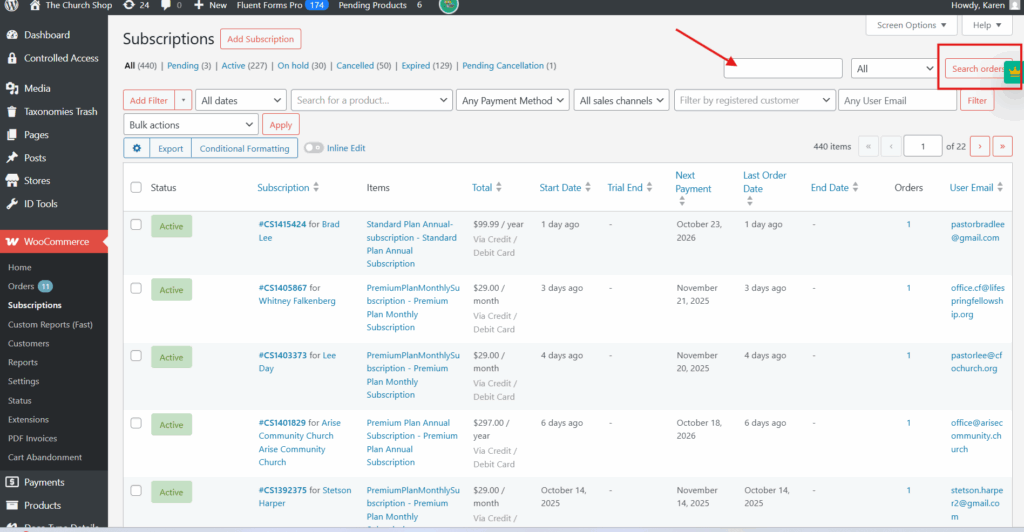
- You’ll see the full subscription list.
Search for the Customer
- Type the customer’s email address into the search bar.
- Press Enter or click Search.
- Find the active subscription under their name.
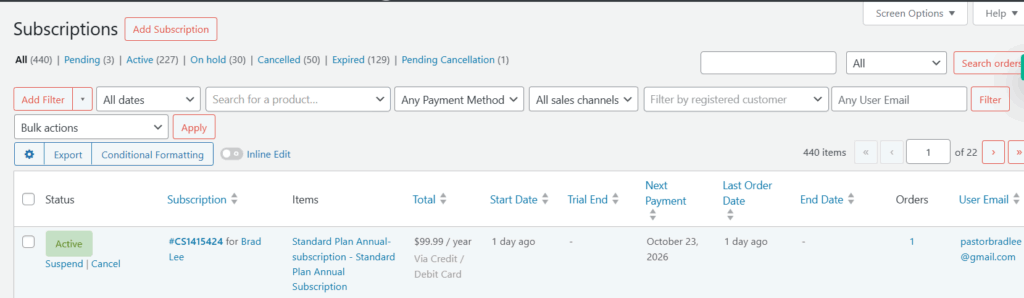
Cancel the Subscription
- In the Status dropdown, select Cancel.
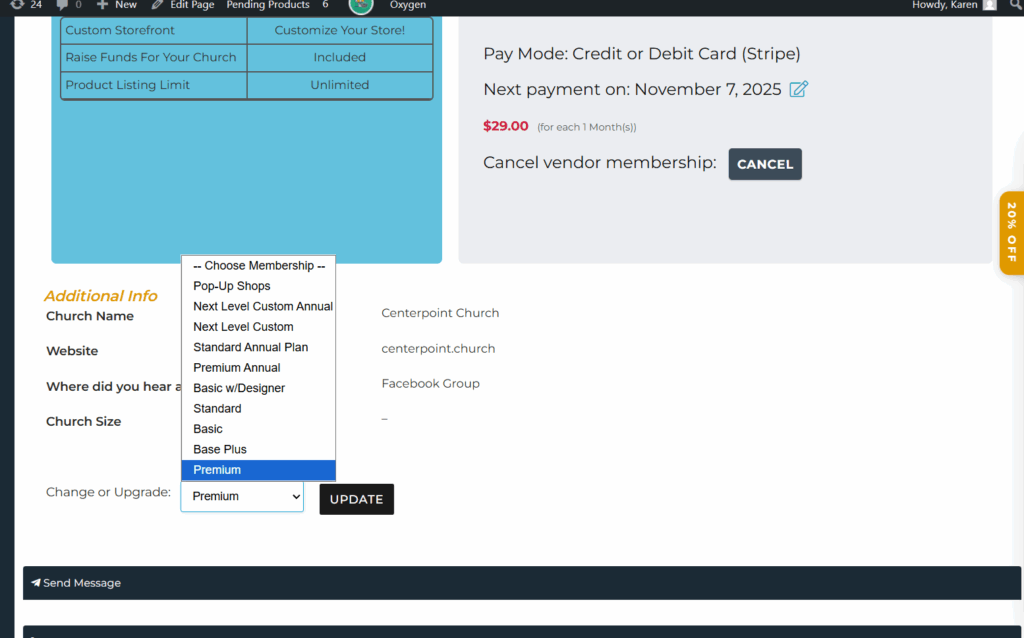
Verify Membership Downgrade
After cancellation, ensure their store plan is adjusted properly:
- Go to WCFM → Store Vendors.
- Search for the vendor (church name).
- Open their profile.
- Under Membership, manually downgrade their plan if needed:
- Example: From Pro or Standard → Basic Plan.
⚠️ Note: “Basic” is the lowest-tier plan used for free or inactive accounts.