
This guide explains how to import products in Impact Merch and TCS. Both platforms follow the same import process. The import involves preparing a complete CSV file, uploading it through the importer, verifying product details, and setting up embroidery or DTG versions if applicable.
Step 1: Prepare the CSV File
Start by preparing the CSV file for import.
Make sure all product details are complete, including:
- Product name, description, and price
- Categories and images
- A unique product ID for each item
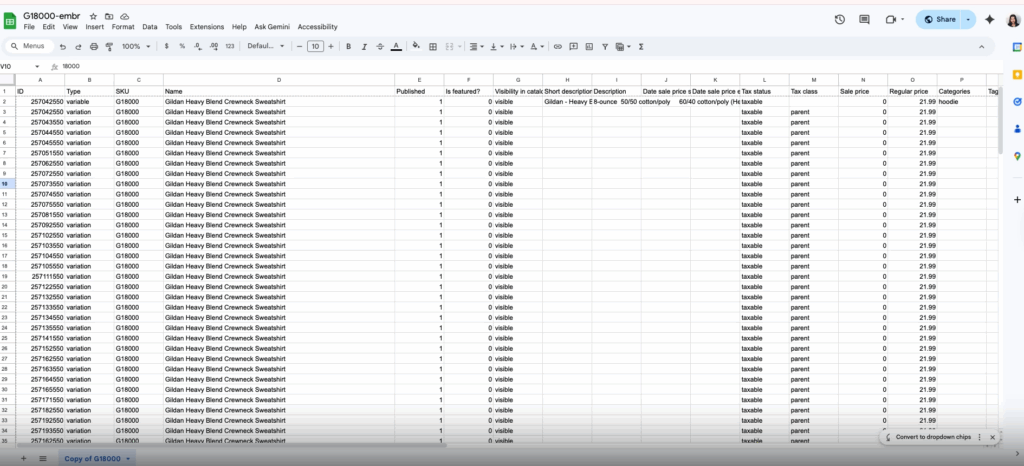
Once everything is verified, save and download the file in CSV format.
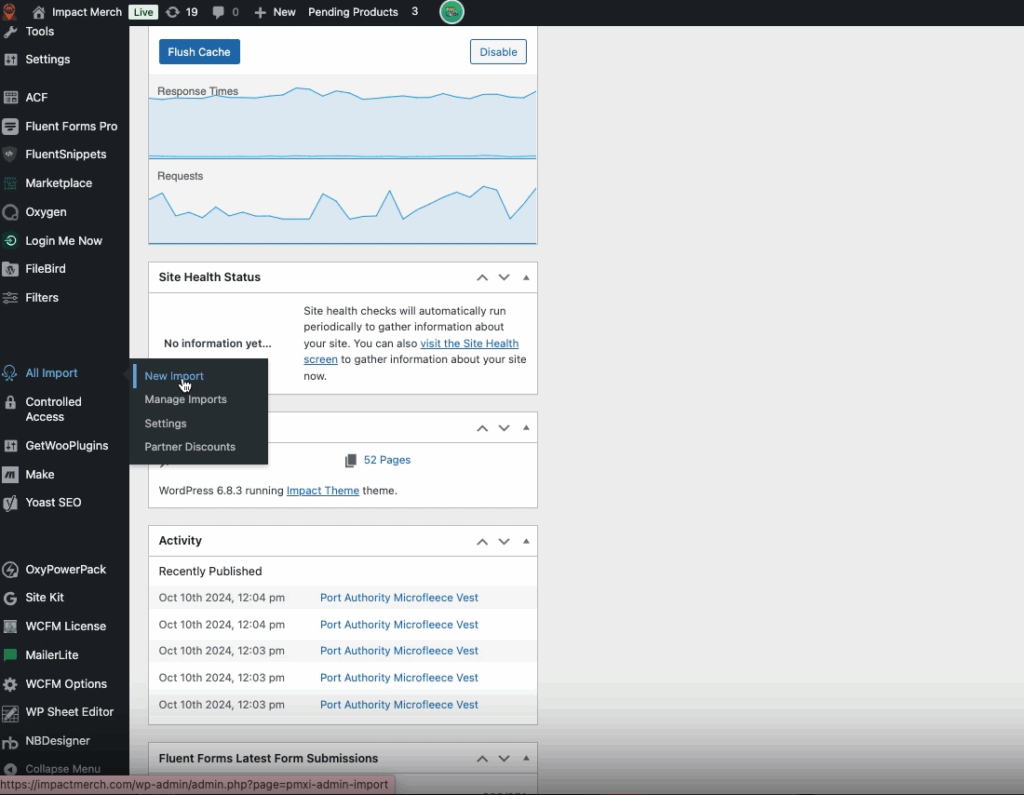
Step 2: Import the CSV into Impact Merch
- Go to Impact Merch and open the Import section.
- Select WooCommerce Products as the import type.
- Upload the CSV file you prepared.
- The import may take some time depending on WordPress speed and file size.
- Once the upload completes, review the imported data to ensure everything appears correctly.
Step 3: Set Product Pricing and Shipping
After importing, double-check the product prices and shipping details.
In this example, the base price used is $21.99.
Confirm that the pricing and shipping rates are accurate and consistent across variations.
If needed, copy the correct price from the original product details.
Step 4: Create Embroidery Versions (If Needed)
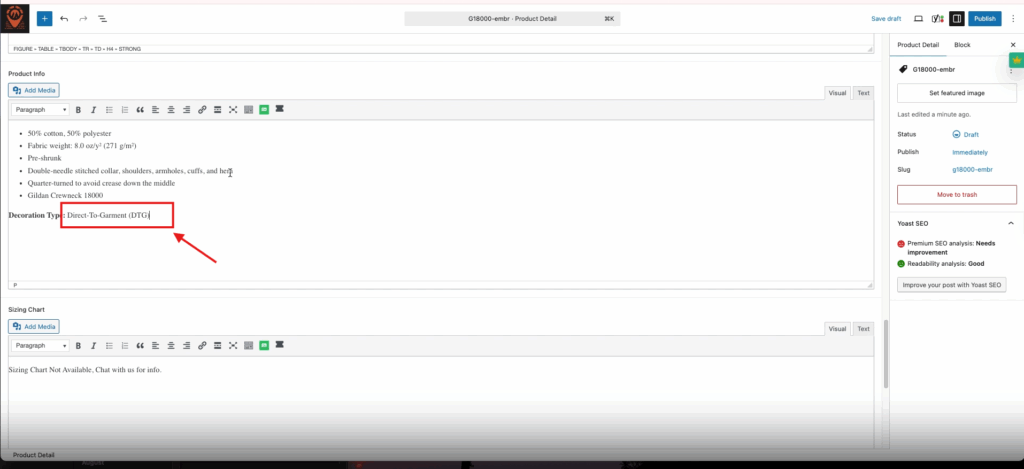
If the imported product is set up for DTG (Direct-to-Garment) printing but you also need an embroidery version:
- Duplicate or create a new product post.
- Copy all details from the DTG version except for the decoration type.
- Update the product title to include “(Embroidery)” for clarity.
- Adjust the turnaround time from 1–3 days (DTG) to 7–10 days (Embroidery).
- Change the production type field to Embroidery.
- Publish the new product once all details are confirmed.
Step 5: Verify Product Details
After publishing, confirm the following:
- The product’s secondary SKU matches the embroidery version.
- The correct taxonomy is applied (e.g., Embroidery).
- The product is set to draft if it requires admin review before going live.
- All colors and price increments are working properly.
- Product details such as decoration type and turnaround time are accurate.
Step 6: Set Up the Designer Tool
- Log in to the Designer Tool.
- Go to Products and locate the newly imported embroidery product.
- Ensure only the front side is enabled for embroidery.
- Adjust the print area to be centered on the chest area.
- Resize or reposition as needed to match the embroidery layout.
- Save the settings and test color variations to confirm they display correctly.
Step 7: Final Review
Once all adjustments are complete:
- Review the final product setup.
- Make sure the pricing, design area, and product variants are functioning as expected.
- After verification, the product is ready for admin approval or to go live.
Summary:
Importing products in Impact Merch and TCS follows the same workflow prepare a complete CSV, import through WooCommerce, verify pricing, duplicate for embroidery if needed, and adjust design settings in the Designer Tool. Always double-check all fields, SKUs, and product variants before publishing.
Watch this video for a walkthrough.