
Tools Needed
- Canva – for preparing and exporting template design elements.
- XE / Imprint Designer Access – to upload, layer, and configure the final template.
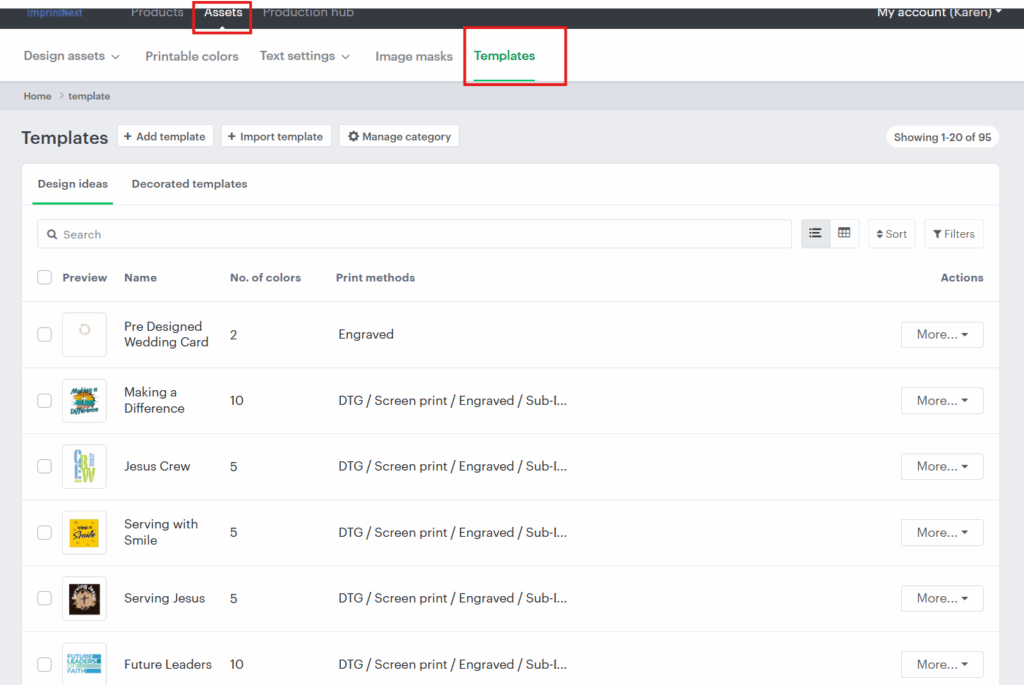
Access the Templates Section in XE
- Log in to the XE backend (Imprint Designer).
- Navigate to Templates → Add New Template.
- This opens a product search / blank canvas screen.
- Always use the blank canvas option so the template can work across multiple products.
Prepare the Design in Canva
- Open the template design in Canva.
- Download the Background Only:
- Export at high resolution (around 4000px) to avoid quality loss.
- Do not use a transparent background for the main background image.
- Select the correct page and save export settings for future consistency.
Export Editable Elements Separately
- Identify text or design elements that clients might need to edit individually (e.g., headings, verses, names, event dates).
- Export these elements separately with a transparent background, so they can be layered later in XE.
Example:
Special fonts or phrases like “Psalm 139” or “Faith Over Fear” should be exported separately.
- These don’t have to be in the exact same position as in Canva, but they must be clear, aligned, and high-quality.
Upload Elements to XE
- In XE, drag and drop your background and separate text elements one by one. ⚠️ XE does not support multiple uploads at once.
- Adjust layer order:
- Move background to the bottom.
- Place text and editable elements on top.
Add & Format Text in XE
- Add new text fields directly inside XE (for phrases like “Psalm 139” or “Baptism Day”).
- Choose a font similar to the one used in Canva.
- Exact matches may not always be available; pick the closest alternative.
- Adjust formatting to match:
- Letter spacing
- Line spacing
- Font size
- Alignment
- Color (use Canva’s color picker or hex code to match exactly)
Save and Configure the Template
- Once satisfied with the layout, save the template:
- Template Name: Use clear, generic naming (e.g., Baptism – Water Washed).
- Category: Assign to the correct system (e.g., Baptism System).
- Number of Colors: Set value (default to 10 if unsure).
- Tags: Optional – can be added later.
- Click Recreate Template → then Save / Update to finalize.
Test the Template
- Return to the Product Library in XE.
- Apply the new template to a test product.
- Check that:
- Text fields are editable and movable.
- No layers are locked unintentionally.
- The overall appearance matches the Canva design.
- If elements are not editable, re-save the template and review your settings.
Notes & Reminders
- Always use high-resolution exports (≈4000px) from Canva.
- Export backgrounds separately from editable text or design elements.
- In XE, check layer hierarchy (background at bottom, editable items above).
- Fonts may differ, choose the closest possible match.
- Always test template functionality before marking it complete.
Watch this video for a quick walkthrough.